May 19, 2014 Subject to Revision
Cab Built, Temporary Installed For Fit Check - 5/19/2014
Fabrication of the cab parts went well on the 3D printer. The front, back, sides and floor parts are all essentially flat and printed without incident. The roof was a large rounded section and was printed standing up which also worked out well.
3D Printed Cab Parts
At left are the three floor parts, in the middle are the front and rear panels and at right are the side panels. The curved roof is at the center bottom.

Roof in 3D Printer After Printing
The above photo shows the curved roof standing up in the 3D printer just after completion. The printer was able to include some roof details simulating vent doors, etc.
Overall, printing of the panels and roof worked very well. The heated stage and use of ABS glue on the stage worked well for the large panels which were of order 5 - 6" in major dimensions. No lifting occurred and the panels remained flat after removal. The roof also went well in printing staying put during the lengthy print process. Most of the flat panels were printed in sets, front and back together, the two sides together and the three floor sections together. The roof was done by itself.
Assembly of the Cab - 5/19/2014
The cab panels form a rectangle with sides that are square to one another, ie, at right angles. Assembly was done using some of the author's machining tools as is shown in the photos next. The panels are held together with super glue.
Jigging the Front and Fireman Side Panel During Gluing

Jigging The Front, Back and Sides During Gluing
The author used several machinists squares and an alignment block to hold the ABS panels in square alignment while the super glue set. The cab basic rectangle came out square as a result.

Cab with Roof in Place During Fit Check

Cab with Roof During Fit Check

Cab with Floors in Place; Small Braces Are Detail To Be Installed On Boiler Later
Cab Fit Check on Boiler - 5/19/2014
The assembled cab has been fit checked on the boiler without gluing it in place. Gluing will await decisions regarding possible details inside the cab area and things such as windows on the cab.
Rear Cab Support Cross frame on Rear of Chassis

Cab Fit Check on Locomotive
The cab fits very well with a close fit on both front around the firebox and rear at the cab support frame of the chassis. Eventually the cab will be attached to the firebox section and removed with the boiler if access to the chassis is required. The cab will rest on the rear frame which is part of the chassis.
Cab Design Finished, Beginning to Print Parts - 5/1/2014
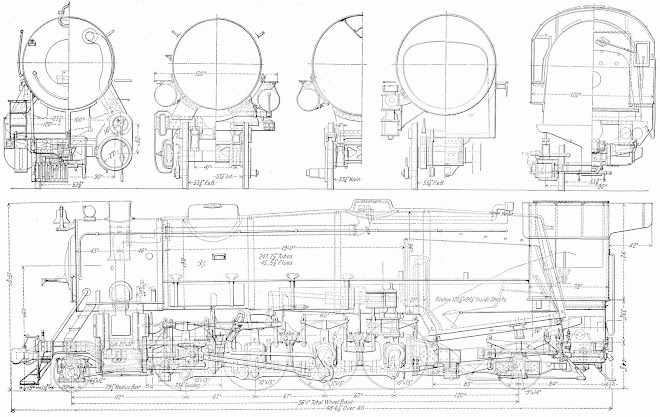
The cab is made up of eight parts that will be glued together. Shown below are the 3D CAD isometrics of the finished assembly, it's exploded view and the placement on the boiler. The cab is the last major component to make up the boiler assembly. Later, many smaller details will be added to the boiler and cab to complete that assembly.The boiler sits on the chassis assembly and is bolted in place with three hold-down screws as was shown in a prior blog.
Some details are also yet to be added to the chassis assembly to be added later as well. The author intends, however, to begin design and build of the tender assembly first before completing the locomotive detailing.


The cab will be permenantly attached to the boiler. To access the tender drawbar under the cab floor, the boiler will need to be removed. The author intends to try to arrange for drawbar detachment in the tender without removing any parts.
The first cab parts are printing now, the two side panels. Window details will be added later.